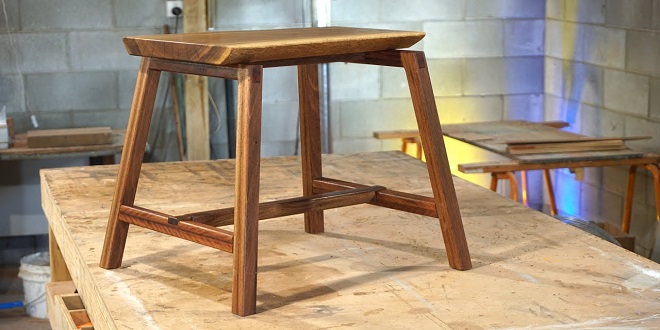
Layout and cut the notches in the legs and foot rails. These are relatively simple cuts because you can keep the workpieces lying on their sides. A table saw with a dado blade set (see page 51) is a perfect tool for these cuts. Or you can remove waste wood with multiple passes of a circular saw and then clean up the notches with a wood chisel.
The bridle joints in this project are pegged with oak dowels for reinforcement. Double-check the diameter of your doweling stock before choosing your drill bit for the guide holes. The dowels I used were exactly 3/8″ in diameter (I used my calipers to check), so I chose a 3/8″ Forstner bit mounted in my drill press to bore the holes. Mark drilling center points at the end of each stretcher, ¾” in from the end and ¾” from each side NOTE: You’ll cut the notches in the stretchers after the peg holes are drilled. Drill the guide holes. If you don’t have a drill press, mark and drill these pieces from both sides.
Cut the open mortises in all the ends of the foot rails and all three stretchers. Because the workpiece should be in a vertical position to make these cuts, they are a bit trickier. A tenoning jig and table saw is by far the most accurate and safest way to make these joinery cuts (see page 27). Alternately, you can clamp each workpiece in a vertical position in a bench vise. Drill a 3/8″ hole marking the bottom of the mortise. Then carefully cut the mortise cheeks using a hand saw. Square up the notch with a wood chisel.
This fun shelving project makes use of tricky corner space
Everyone has at least a couple of free corners in their home. Here’s a way to use that space. This curious shelf resembles the intriguing form of an automotive camshaft and with a gravity-defying appearance to boot. Although it may look a little precarious, as if it is floating in the corner, once it’s secured to the wall it is actually very solid. The shelf consists of thirteen parts. seven are identical shelves, and they are separated by three pairs of progressively shorter vertical members.
How to Build a Zippered Corner Shelf.
Whether it’s out on the deck or at a kid-size work/play station, it’s good to have safe, sturdy chairs sized for the little ones. Each of these chairs is fashioned from only six parts. If you plan to make a multitude of these chairs, use the router template provided here and take your time getting the template right. You can also create your own template design, altering the dimensions to suit different-sized kids. When the noisy and dusty stuff is done, bring the kids into the shop to help with assembly and painting. Make sure you use water-based paint, have everyone wear old clothes, and lay down a big sheet of plastic.
Designing your own carpentry and woodworking projects is a fun and gratifying exercise, but the more you design, the more you will realize that there is not actually much new under the sun. Most of what we do is customize and refine objects and furniture that have come before us. This tall display shelf is a splendid example of a form that was created a long time ago and simply requires a little updating to become the project you see here.