Don’t be afraid of hand planes. Most beginners who have tried using a block plane or any of the more common hand plane types have ended up with workpieces that are gouged and disappointing. But keep trying a well-honed plane is an indispensable tool for experienced woodworkers. Getting good results is just a matter of patience and practice (and keeping the blades sharp). For this project, a block plane made quick work of adding a tiny chamfer to all the edges, which is more attractive than the rounding you get with a sanding block.
The joinery used to make these knickknack shelves may look a little intimidating at first, but it really is done with just a few notches and some dadoes. The joints make for a rugged connection between the shelves and the uprights. Also, the uprights are spaced at 16″ on center standard wall stud spacing so the keyhole hangers used here allow an invisible yet very sturdy connection to the wall (if you decide to hang the shelf unit so it aligns with the wall studs).
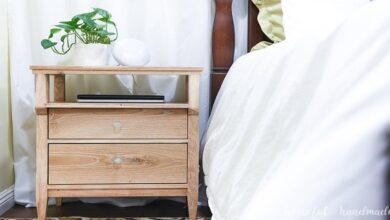
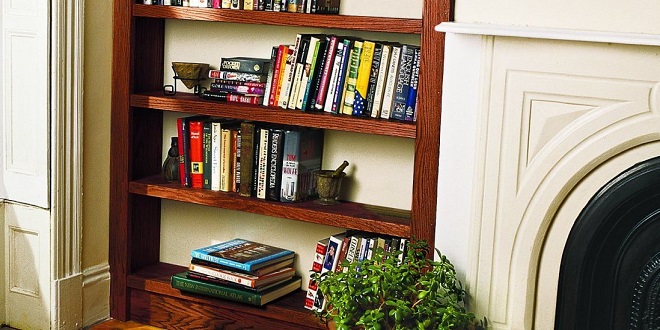
Gentle curves on the front edges of the shelves draw the eye and beg to be touched. The shelves are strong enough to hold large, heavy books, but you may want to store something smaller on them so you can still admire the beautiful hickory tones and you’re fine wood joinery.
How to Build Hickory Knickknack Shelves
These knickknack shelves can be fashioned from a single 8′ piece of 1 × 10 hickory (or another species of your choosing) if you layout your parts carefully. If you are building from random-width stock, you will need to dress the lumber before you start cutting.
This is normally done using a planer, jointer, and table saw, but if the stock you have is already planed to consistent thickness (3/4 as shown), you can cut it into usable strips with a circular saw (install a rip-cutting blade) and a straightedge cutting guide (see page 127). After dimensioning and laying out your parts, cut the shelves to finished size, but let them remain rectangular for now—you’ll curve the front edges later.
Layout the recesses for the keyhole hangers in the backs of each upright. Cut these recesses using a chisel or a router. If you choose to route them, use a 1/8-diameter bit. The depth is shallow enough that it’s easy to rout these freehand. Apply a finish of your choice I used clear wood varnish only.
The threat of personal injury in a workshop is not something anyone wants to think about, but taking care with your personal safety is essential to making your shop experience a pleasant and productive one. It really doesn’t take that much effort to look after your own well-being, and unsafe practices and a hazardous shop environment can be distracting and have a negative effect on your work. Establishing good work habits and a patient attitude will ensure that you’re actively staying safe, while the basic safety gear that protects your eyes, ears, lungs, and hands provides essential passive backup.
Kidzmommy provides valuable advice and tips for new mothers. It covers topics like breastfeeding, sleep training, and baby care essentials.